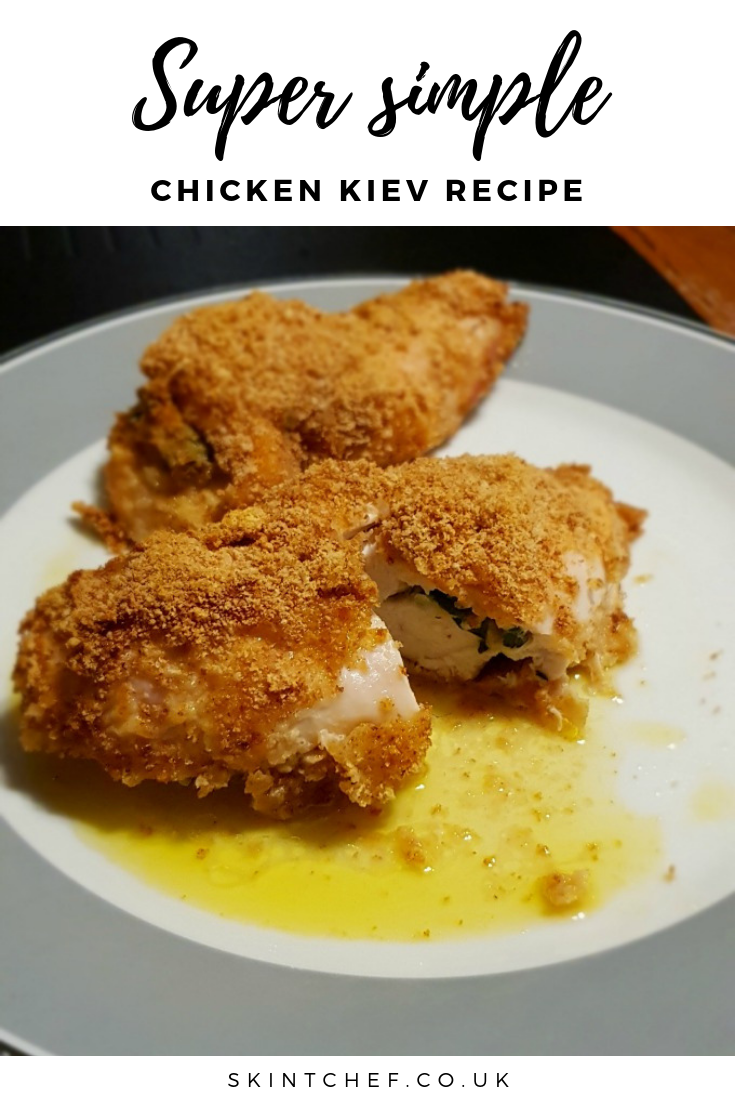
This chicken Kiev recipe is so easy to make and is classic comfort food, which will make you question if you'll ever get shop-bought again!
A 1970s classic - the chicken Kiev is still going strong today.
The thought of making chicken Kievs may put you off initially. You need to put in a little bit of effort to get this dinner on your table, but it's so worth it - and it's surprisingly easy to make.
After you try homemade chicken Kievs, you'll never want to buy them from the shop again!
You can turn a basic piece of chicken into a tender and juicy midweek meal, that you'll want on your meal plan week after week!
Use a meal planning app to keep track of what you eat each week and also manage your shopping list easily.
How to make chicken Kievs
One thing to think about is how much time you have to make dinner and how much preparation you can do ahead of time.
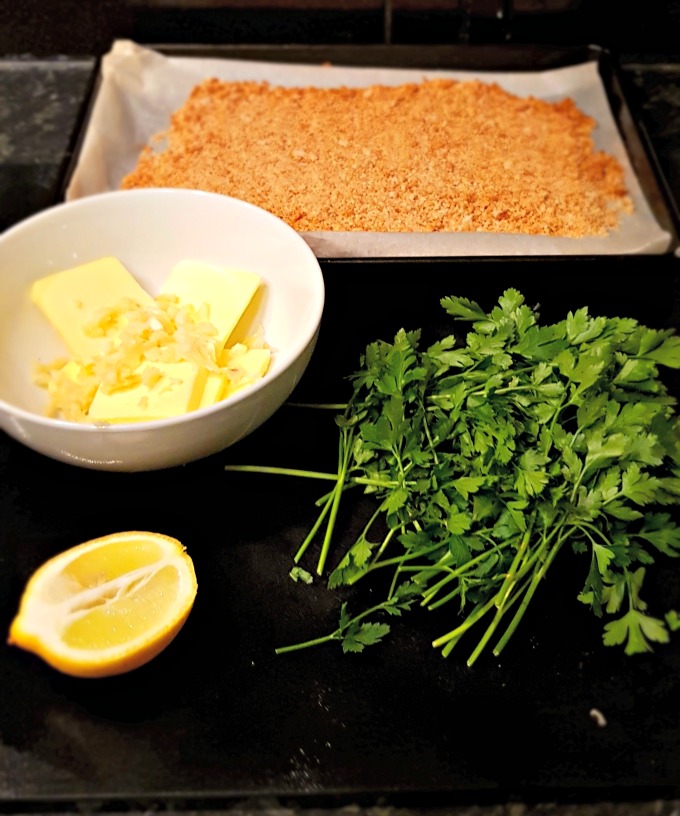
It's very easy to do a lot of the prep in advance and keep garlic butter (homemade garlic bread anyone - yum!) and to have homemade breadcrumbs stored in the freezer.
Yes, you'll save yourself time when it comes to dinner that evening, and you'll save on waste.
When you've got your garlic butter and breadcrumbs ready, you need to get a sharp knife and cut into the chicken.
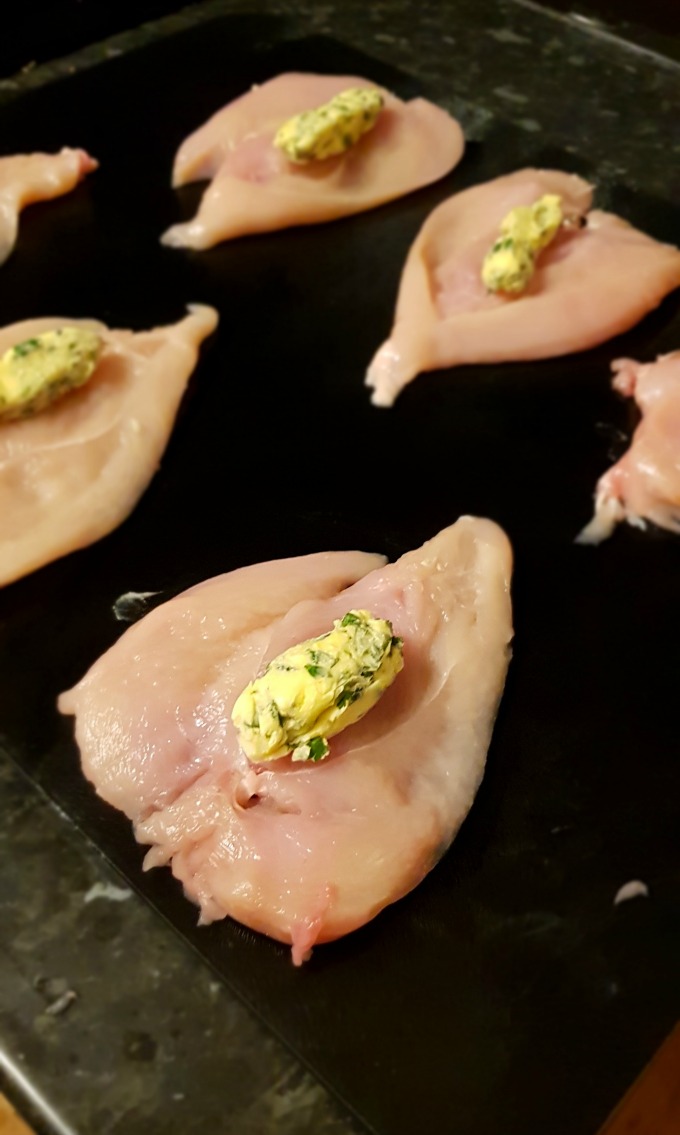
Cut ¾ of the way through so it can open out. If the chicken breasts are small, or if they are not too even, use a rolling pin to beat the chicken, so it's even in size. Doing this will help it cook evenly.
Then, place the yummy garlic butter into the chicken and roll the chicken around it.
You want the butter to be cold so it will stay in place.
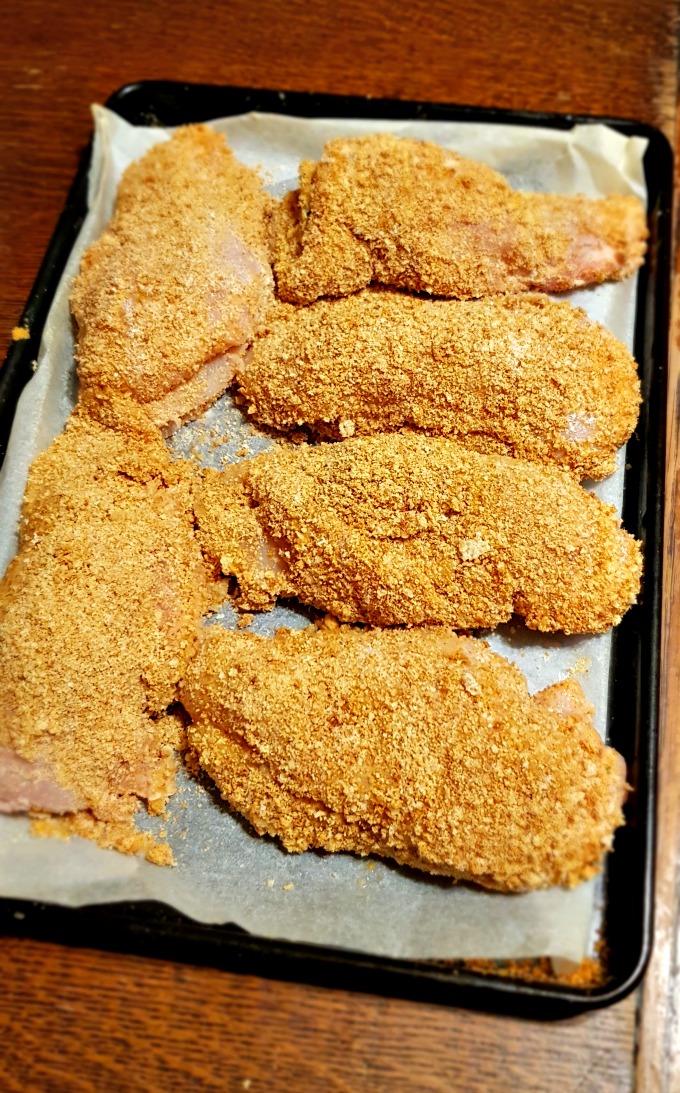
It then comes to adding the coating, which will cook to a lovely golden colour in the oven.
First, dip the chicken into flour, then into the egg, then into the breadcrumbs.
You should always dip into flour first as it gives something for the egg to cling onto. If you just dipped the chicken straight in the egg, the egg would likely slide off.
Frying the chicken Kievs is ok to do, but I prefer to bake them. It means there's less oil used and there is more room on an oven shelf than in a frying pan so the chicken can be ready at the same time.
What to serve with Chicken Kievs
After all the prep and cooking, you need to work out what you want to have as chicken Kiev accompaniments.
While they're a show stopper in their own right, it's great to have a side dish or two to soak up the delicious garlic juices.
Mash potato is excellent to absorb the garlic, with a side of green veg. However, that can get quite heavy.
You could also try it with a tomato or a mixed leaf salad (to try and be a little healthier 🙂 )
WANNA SAVE MORE MONEY ON YOUR SUPERMARKET FOOD BILL?
Who doesn’t?!
Come and join our Facebook community, Reduce Your Supermarket Spend.
Come and join thousands of people who share their best tips and real-life ideas to keep your costs down.
This is now the biggest supermarket community on Facebook!
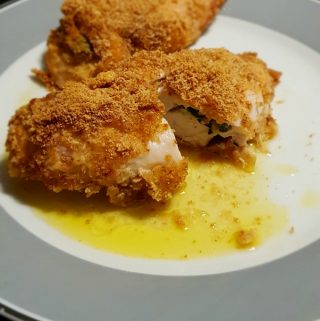
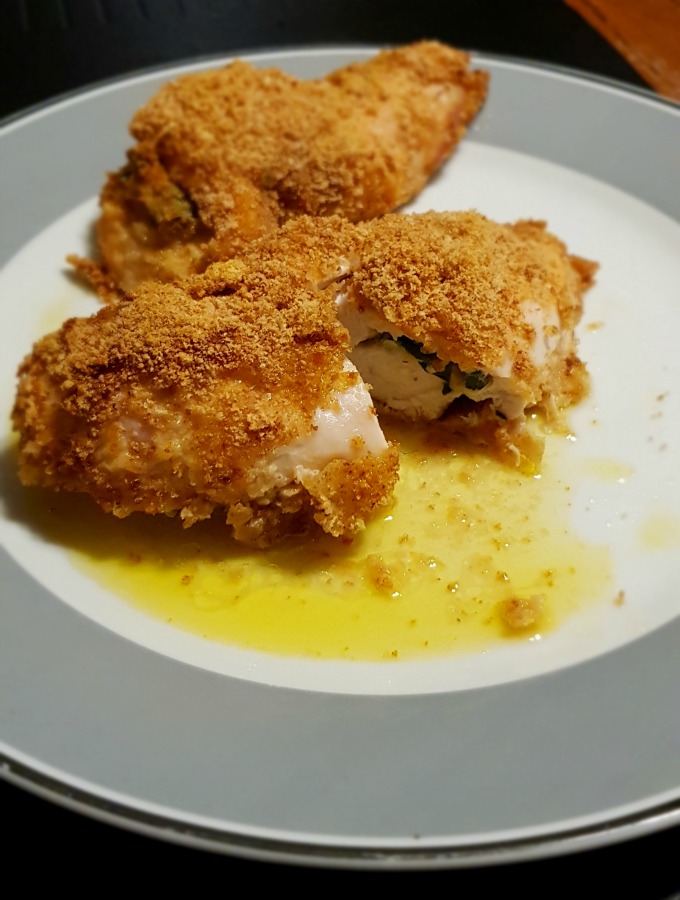
Easy Homemade Garlic Chicken Kiev Recipe - £1.28 per serving
Ingredients
For the garlic butter
- 3 garlic cloves 3p
- 200 g butter £1.20
- handful of fresh parsley free from the herb garden
- 1 tablespoon lemon juice 5p
For the Kievs
- 4 slices white bread, finely grated 12p
- 6 chicken breasts £5.70
- 1 tablespoon parmesan 23p
- 200 g flour with a sprinkle of paprika and salt 10p
- 2 eggs, whisked 26p
Instructions
- Soften the butter to room temp. Finely chop the garlic and parsley and mash into a paste. Make 6 small cling film parcels, place your mix into the parcels and freeze until hardened.
- Make the breadcrumbs, or grab about 150g of pre-prepared breadcrumbs from the freezer (it's a great way to bring down food waste), and place them on to a baking tray with greaseproof paper. Then place in the oven at 200C until lightly toasted.
- Cut an insert into the thickest part of the chicken ¾ of the way through and open it out to allow a pocket. If the chicken breasts are small, you can beat out to make them bigger using a rolling pin.
- Take the garlic and parsley butter parcels out of the freezer and remove from clingfilm. Insert the butter into the chicken breasts and roll the chicken around the parcels.
- Put the breadcrumbs into a bowl, ensuring the bread crumbs are separated and mix in the parmesan. In another bowl add the plain flour with paprika and put the eggs in a third bowl.
- Take one chicken breast, roll it in the flour making sure the garlic mix stays in firmly. Dip it in the egg, and then dip in the breadcrumbs coating fully. Place on a non-stick baking tray and repeat with all the chicken breasts.
- Cook the chicken for 25-30 minutes at 200C until the meat juices run clear when stabbed with a sharp knife.


Susan Wright
Yum!
Ricky Willis
They really are! When they're prepared homemade Chicken Kievs freeze well, and you can just defrost one portion at a time as you need.